


Start with the strokes
Most letters are combinations of a vertical line, a circle and a diagonal. Practise those shapes first, then build letters from them. Teaching the starting point and direction matters more than perfect neatness at the beginning.
Tall, small and tail letters
| Type | Examples | Where they sit |
|---|---|---|
| Tall | b, d, h, k, l, t | Top line to baseline |
| Small | a, c, e, m, n, o | Midline to baseline |
| Tail | g, j, p, q, y | Midline to below the baseline |
A simple lesson
- Show the letter and say its sound.
- Trace it in the air, then on the paper with a finger.
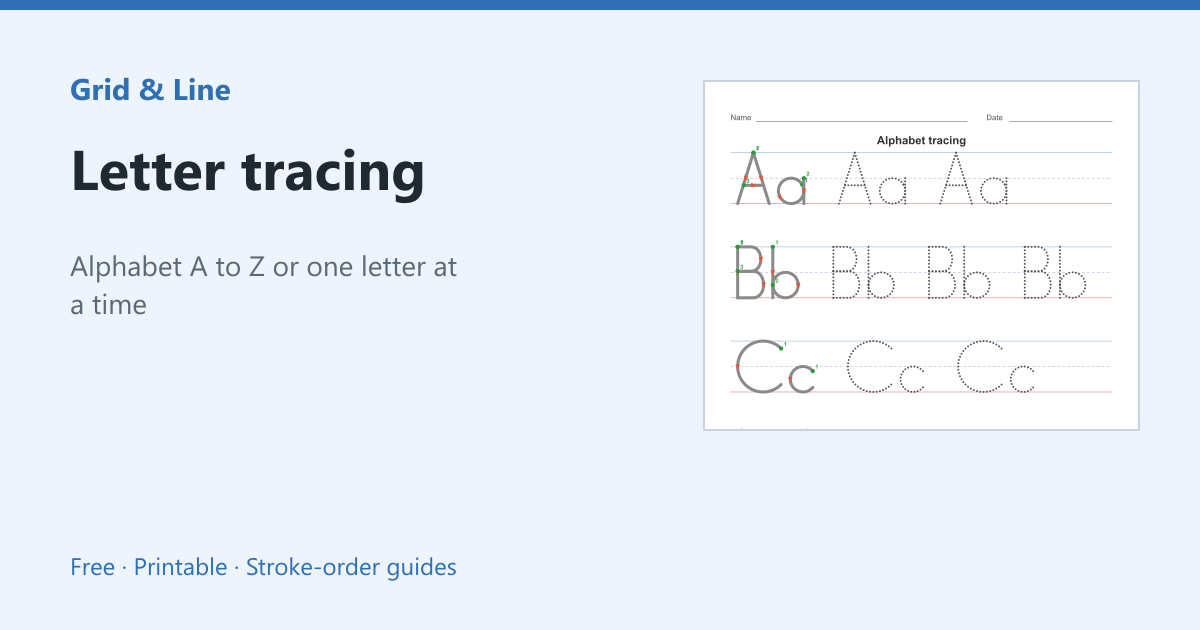
- Trace the dotted model, starting at the green dot.
- Write one letter alone, then stop.
Print practice sheets
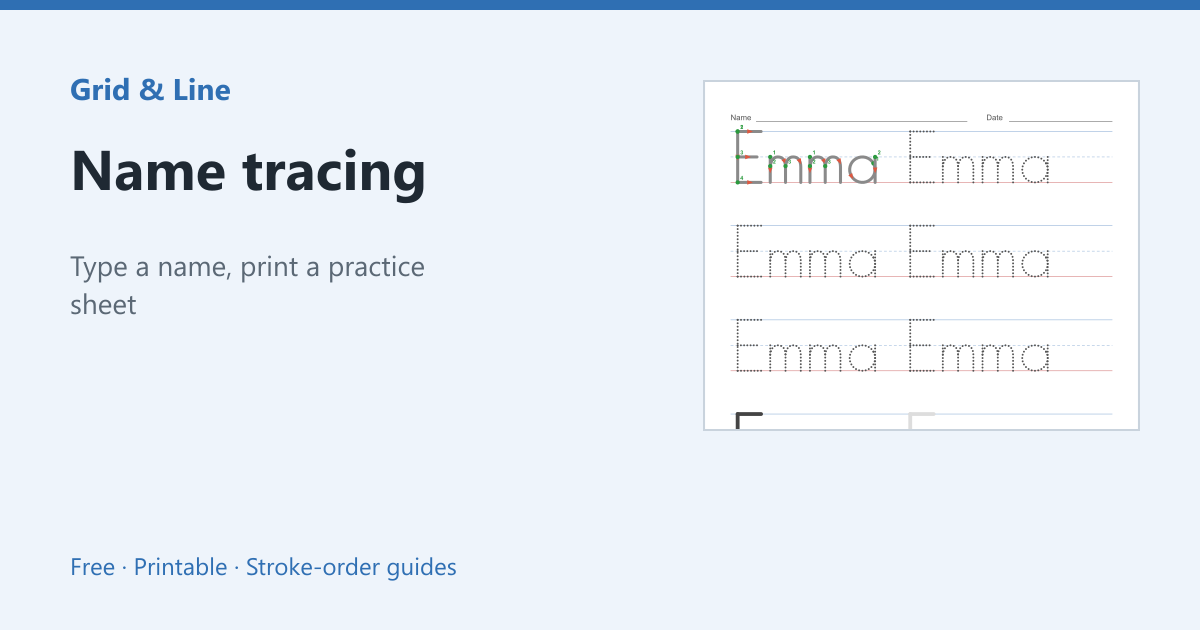
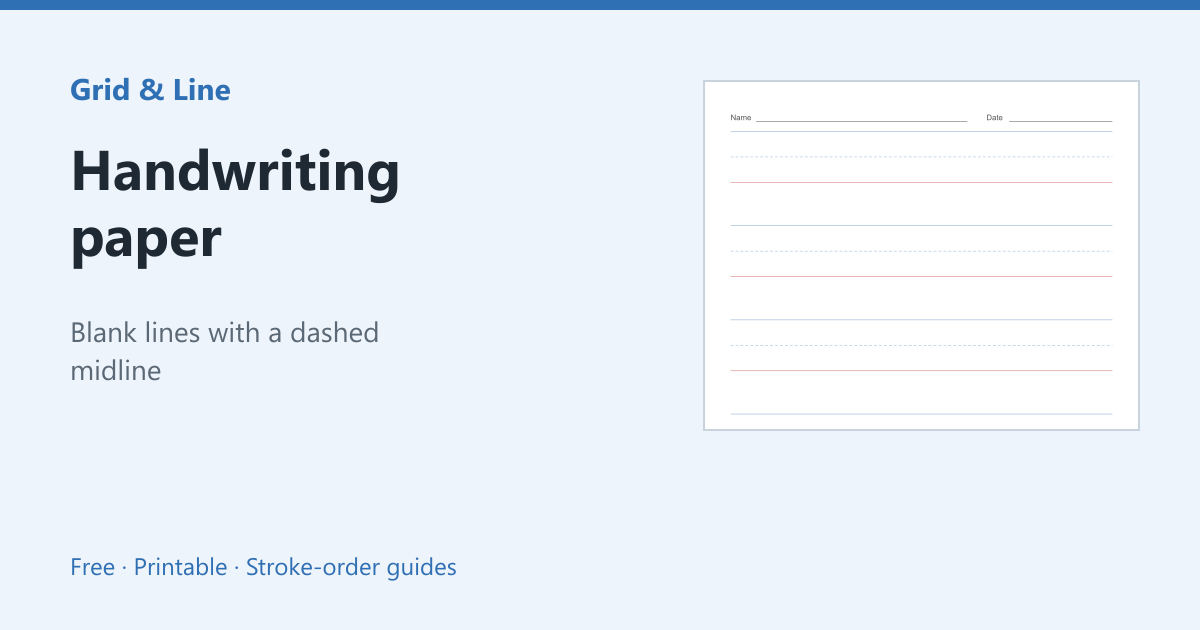
The letter tracing hub has a page for every letter, with stroke-order animation and a worksheet. Pair it with handwriting paper for free writing, or use name tracing once the letters are familiar.
In practice
A child writes b and d interchangeably. The letters are mirror images, and the child has not yet automatised the starting stroke. Tracing from a green dot and saying the direction aloud is more effective than erasing the same letter repeatedly.
Common mistakes
| Problem | Usually because | What to do |
|---|---|---|
| Letters start from the bottom | No consistent starting point | Mark the start with a dot |
| Tall letters are the same height as small ones | The child ignores the midline | Colour the top and middle lines |
| Practice is too long | A whole page is assigned | Five minutes, one letter |
 Letter tracing
 Name tracing
 Handwriting paper